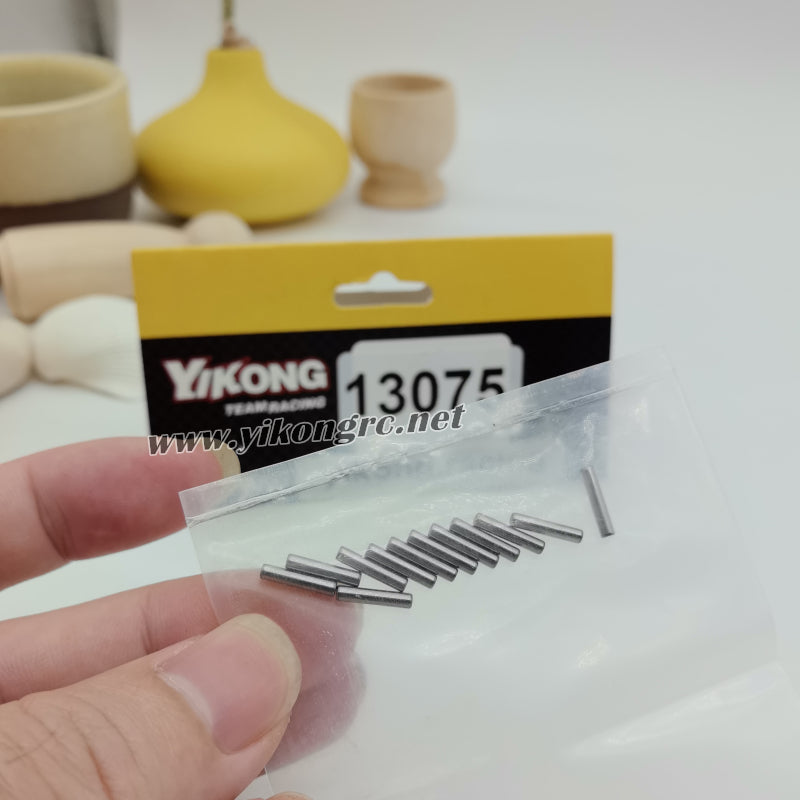
Installing the YIKONG YK4082/V3 Parts Pin 2×10 (Part No. 13075) is simple. First, align the two components that need to be connected, then carefully insert the Pin 2×10 through the aligned holes until it is fully seated. If the pin is secured with a screw, E-clip, or another retaining device, make sure it is installed properly to prevent the pin from coming loose during use.

To remove the YIKONG YK4082/V3 Parts Pin 2×10 (Part No. 13075), first remove any retaining screw, clip, or locking device if one is present. Then use needle-nose pliers, a pin punch, or a small hex driver to gently push the pin out from one side. If the pin is difficult to remove because of dirt, mud, or long-term use, clean the surrounding area first and apply a small amount of penetrating oil or lubricant before trying again. Avoid using excessive force, as this may damage the pin or nearby components. After reinstallation, make sure the pin is fully seated and that the connected parts move freely without excessive play or binding.

