Properly installing the YIKONG YK4107 RC Car Front Lower Pull Rod (Part No. 21085) helps maintain correct front axle geometry, improves steering stability, and ensures smooth suspension operation. During installation, pay close attention to the rod orientation, rod end alignment, and screw tightening.

What Should You Prepare Before Installation?
Preparing the proper tools and disconnecting the battery before installation will make the process safer and more efficient.
Recommended tools:
- Hex driver
- Phillips screwdriver (if required)
- Needle-nose pliers (optional)
- Blue thread-locking compound (recommended for metal-to-metal screws)
Before starting, turn off your YIKONG YK4107 and disconnect the battery.
How Do You Remove the Original Front Lower Pull Rod?
Remove one side at a time to help keep the front axle aligned during the replacement process.
Follow these steps:
Step 1: Remove the Mounting Screws
Use the appropriate hex driver to remove the screws from both ends of the Front Lower Pull Rod.
Keep all screws and rod ends in a safe place for reinstallation.
Step 2: Remove the Original Pull Rod
Carefully remove the original Front Lower Pull Rod.
If the rod ends fit tightly, gently wiggle them free instead of forcing them to avoid damaging the ball cups.

How to Install the Front Lower Pull Rod (85mm)?
Ensure the pull rod is installed in the correct position and orientation to maintain proper suspension geometry and steering performance.
Follow these steps:
Step 1: Confirm the Part
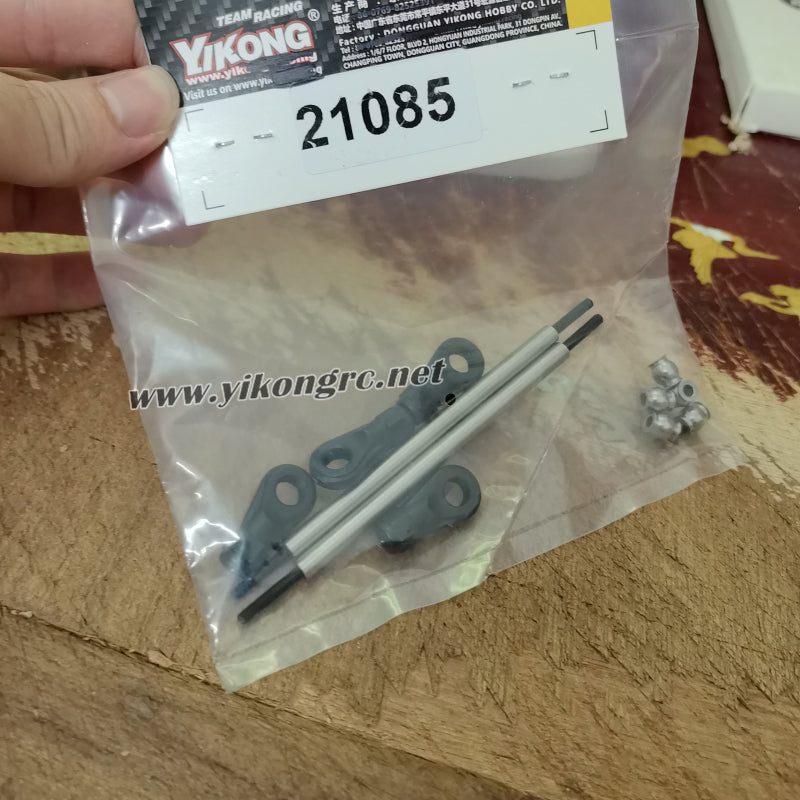
Verify that you are installing the 85mm Front Lower Pull Rod (Part No. 21085).
Do not mix it with pull rods of different lengths.
Step 2: Install Both Rod Ends
Attach both ends of the pull rod to:
- The front axle mounting point
- The chassis mounting point
Make sure the rod ends move freely without binding.
Step 3: Tighten the Screws
Secure both mounting screws evenly.
If the screws thread into metal parts, apply a small amount of blue thread-locking compound to prevent them from loosening during off-road driving.

What Should You Check After Installation?
After installation, inspect the suspension and steering to ensure everything operates smoothly before driving your YIKONG YK4107.
Check the following:
- Both pull rods are installed correctly.
- The rod ends move freely.
- All screws are securely tightened.
- The front axle is properly centered.
- Steering operates smoothly from lock to lock.
- Suspension travel is unrestricted.
Perform a slow-speed test drive before normal operation.
FAQ
Q1: Which model is the Front Lower Pull Rod (21085) compatible with?
This part is specifically designed for the YIKONG YK4107.
Q2: Do I need to adjust the pull rod length during installation?
No. The pull rod has a fixed length of 85mm and is designed to fit the original mounting points without adjustment.
Q3: What should I do if the vehicle pulls to one side after installation?
Check that both pull rods are installed correctly, the rod ends are fully seated, and both sides are mounted symmetrically.
Q4: Should I use thread locker on the screws?
Yes. When installing screws into metal threads, applying a small amount of blue thread-locking compound is recommended to help prevent the screws from loosening due to vibration.
Product Specifications
| Item | Specification |
|---|---|
| Product Name | Front Lower Pull Rod |
| Part Number | 21085 |
| Compatible Model | YIKONG YK4107/YK4107Pro |
| Part Type | Upgrade Parts |
| Length | 85mm |
| Package Quantity | 2pcs |